8 Easy Steps to Removing Spray Foam Overspray from Vehicles
In this episode of Fix-It Friday our spray foam expert, John Davidson, teaches you how to remove overspray from cars. Preventing spray foam overspray is always the best first step, but we realize accidents happen and sometimes the wind hits just right. Learn what the best clay bar for overspray is, how to remove overspray from cars, and other tips on communicating with the owner of the vehicle.
1. Give Letter to Owner
The first step in preventing an upset car owner is getting ahead of the communication. Print a few of these letters with your business name on them and have them in your rig at every job site. Overspray is never planned, but it happens to the best of us. When you are approached by someone who believes your material is on their car, after you identify that it is in fact your material you can provide the letter below. It’s better to be prepared for a bad situation than to have an angry vehicle owner. Oftentimes, being prepared and confident you know what to do helps to ease the tension.
Letter template to share with customer: https://sprayworksequipment.com/wp-content/uploads/2023/08/Example-overspray-letter.docx
2. Use Magnifier to Check for Foam or Poly
When someone approaches you and believes spray foam or Polyurea is on their vehicle, the first thing you want to do is find out if it is in fact your material. It’s possible they drove through a construction zone last night or their neighbor was painting their house and it’s not your material at all. Keep a magnifier or magnifying loop handy and check the vehicle to identify what exactly is on the vehicle. You can even go the extra step to show the car owner what you see and confirm whether or not it is your material.
3. Check for Scratches, Dings, or Dents
Once you’ve identified that the material on the car is from your job site and you’ve provided the letter to the car owner, you should do a thorough overview of the car to identify any scratches, dents or dings. Approach this with kid gloves so as to not offend the vehicle owner, only to point out what is already there so you’re not on the hook for any damage.
4. Pressure Wash < 3,000 psi
Next, you can take a pressure washer that is less than 3,000 psi and clean off the plastic areas of the vehicle as well as the tires. Make sure you DO NOT use any oscillating heads or anything that would compromise the finish on the vehicle.
5. Wash Car
You’ll want to wash the vehicle thoroughly. This is a pretty quick step that will remove any excess grime from the vehicle, making the foam removal process with the clay bar much easier.
6. Put on an Apron
Whether you’re doing the foam removal yourself or you’ve hired a detail company to take care of it, always wear an apron. You’d be surprised how easily people forget about their buckles, belts, zippers and other metal objects that could easily scratch the vehicle. Using a soft apron will prevent any damage to the vehicle.
7. Clean Windows with Razor Blade or Clay Bar
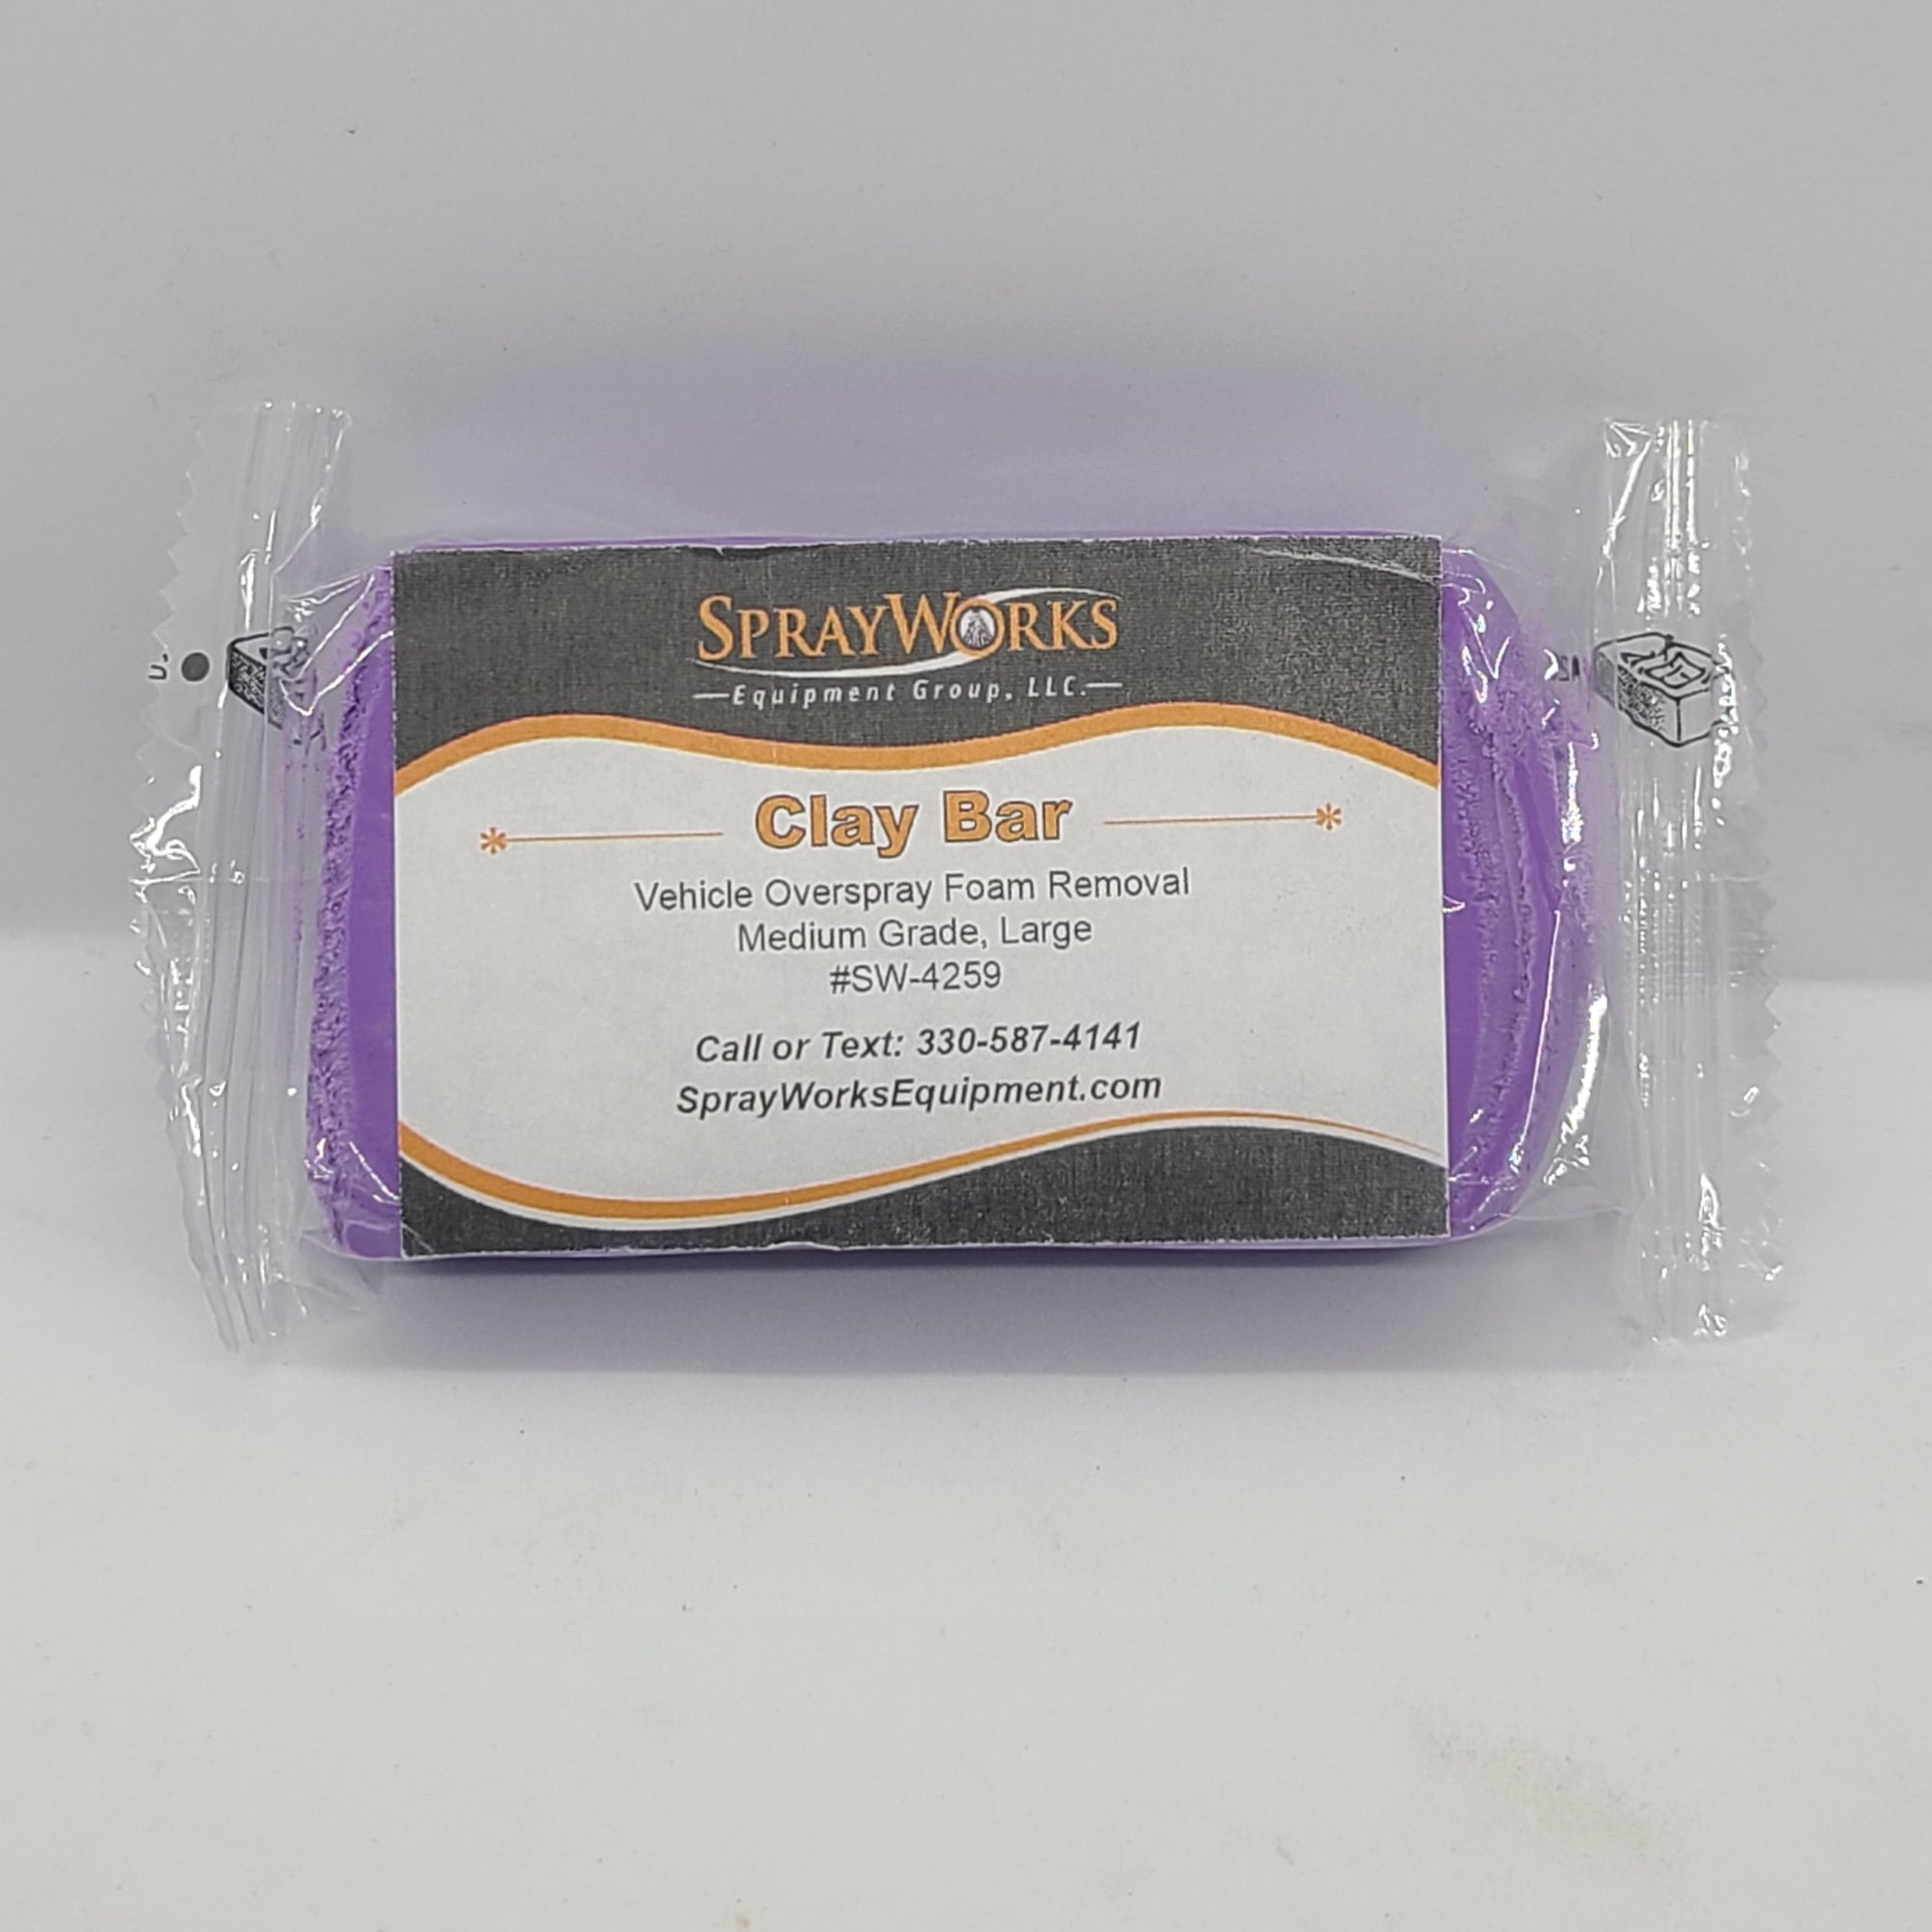
When you’re working with glass, oftentimes scratches and dings in the glass aren’t visual to the naked eye, which is why step 3 is so important before you get to this stage. Depending on your comfortability, you can either use a razor blade or the clay bar for this step. The clay bars we use are the best clay bars for removing overspray and have a medium grade which is ideal for allover vehicle use, including glass.
First, spray the glass with distilled water. When using a razor blade, make sure you go in one direction (similar to shaving). Wipe off material after each pass to ensure you don’t scratch the class. After you’ve gone over the window completely, spray the window again with distilled water and wipe clean with a paper towel.
Similarly, when using a clay bar, spray the window and clay bar with distilled water. Then, use the clay bar and wipe in a circular motion until your bar doesn’t meet resistance. Your clay bar can be folded in half time and time again to minimize dirt that is exposed. After you get a clean wipe across the entire window with the clay bar, spray distilled water and wipe dry with a paper towel.
8. Clean the Car with the Clay Bar
The last step on how to remove spray foam overspray from cars is to clean the rest of the vehicle with the Clay Bar. Similar to using it on glass, spray the window and clay bar with distilled water. Then, use the clay bar and wipe in a circular motion until your bar doesn’t meet resistance. Your clay bar can be folded in half time and time again to minimize dirt that is exposed. After you’ve gone over the car and removed any overspray, you may want to wash it one more time. The clay bar will remove any grime in addition to wax, so a final step would be to reapply wax.